How To Make A Paper Rose: A Step-by-Step Guide That’s Seriously Fun
Alright folks, here we go! If you're reading this, chances are you're on a mission to learn how to make a paper rose. And let me tell you, you're in the right place because today, we’re diving deep into the art of crafting these beauties. Whether you’re planning a DIY project for your home or just want to impress someone special, paper roses are the perfect way to add a touch of elegance without breaking the bank. So, let’s get started, shall we?
Now, I know what you’re thinking—“Is making a paper rose really that easy?” Well, let me break it down for you. With the right steps and a bit of patience, you’ll be churning out these floral wonders in no time. Plus, there’s something truly satisfying about creating something with your own two hands. You’ll see what I mean once you get into the swing of things.
So grab your paper, scissors, and a glue stick because we’re about to take this crafty journey together. And don’t worry, I’ll be here every step of the way to guide you through the process. Let’s make some magic happen!
Table of Contents
- What You’ll Need to Get Started
- Step-by-Step Guide to Making a Paper Rose
- Pro Tips for Perfect Paper Roses
- Different Types of Paper You Can Use
- Ways to Decorate Your Paper Rose
- Creative Gift Ideas Using Paper Roses
- A Brief History of Paper Flowers
- Frequently Asked Questions
- Benefits of Making Paper Roses
- Final Thoughts and Next Steps
What You’ll Need to Get Started
Before we dive into the nitty-gritty of how to make a paper rose, let’s talk about the tools and materials you’ll need. This part is super important because having the right supplies makes all the difference. You don’t want to be halfway through and realize you’re missing something crucial, right?
Here’s a quick list of what you’ll need:
- Paper (we’ll talk more about the best types later)
- Scissors (sharp ones make cutting so much easier)
- Glue (a glue stick works great, but you can also use hot glue if you’re feeling fancy)
- A pencil (for tracing and marking)
- A ruler (for precision)
- Green floral tape (optional, but it adds a nice finishing touch)
Now that you’ve got everything lined up, let’s move on to the fun part—the actual process of making a paper rose!
Step-by-Step Guide to Making a Paper Rose
Step 1: Choose Your Paper
Choosing the right paper is key when it comes to crafting a beautiful paper rose. You want something that’s sturdy enough to hold its shape but still flexible enough to work with. Some popular options include crepe paper, tissue paper, and even cardstock if you’re going for a more structured look.
Step 2: Cut Out the Petals
This is where the real fun begins! Start by cutting out petal shapes from your chosen paper. You’ll want to make them slightly larger at the bottom and tapering towards the top. Think of a teardrop shape, but don’t stress too much about perfection. A little imperfection actually gives your rose character.
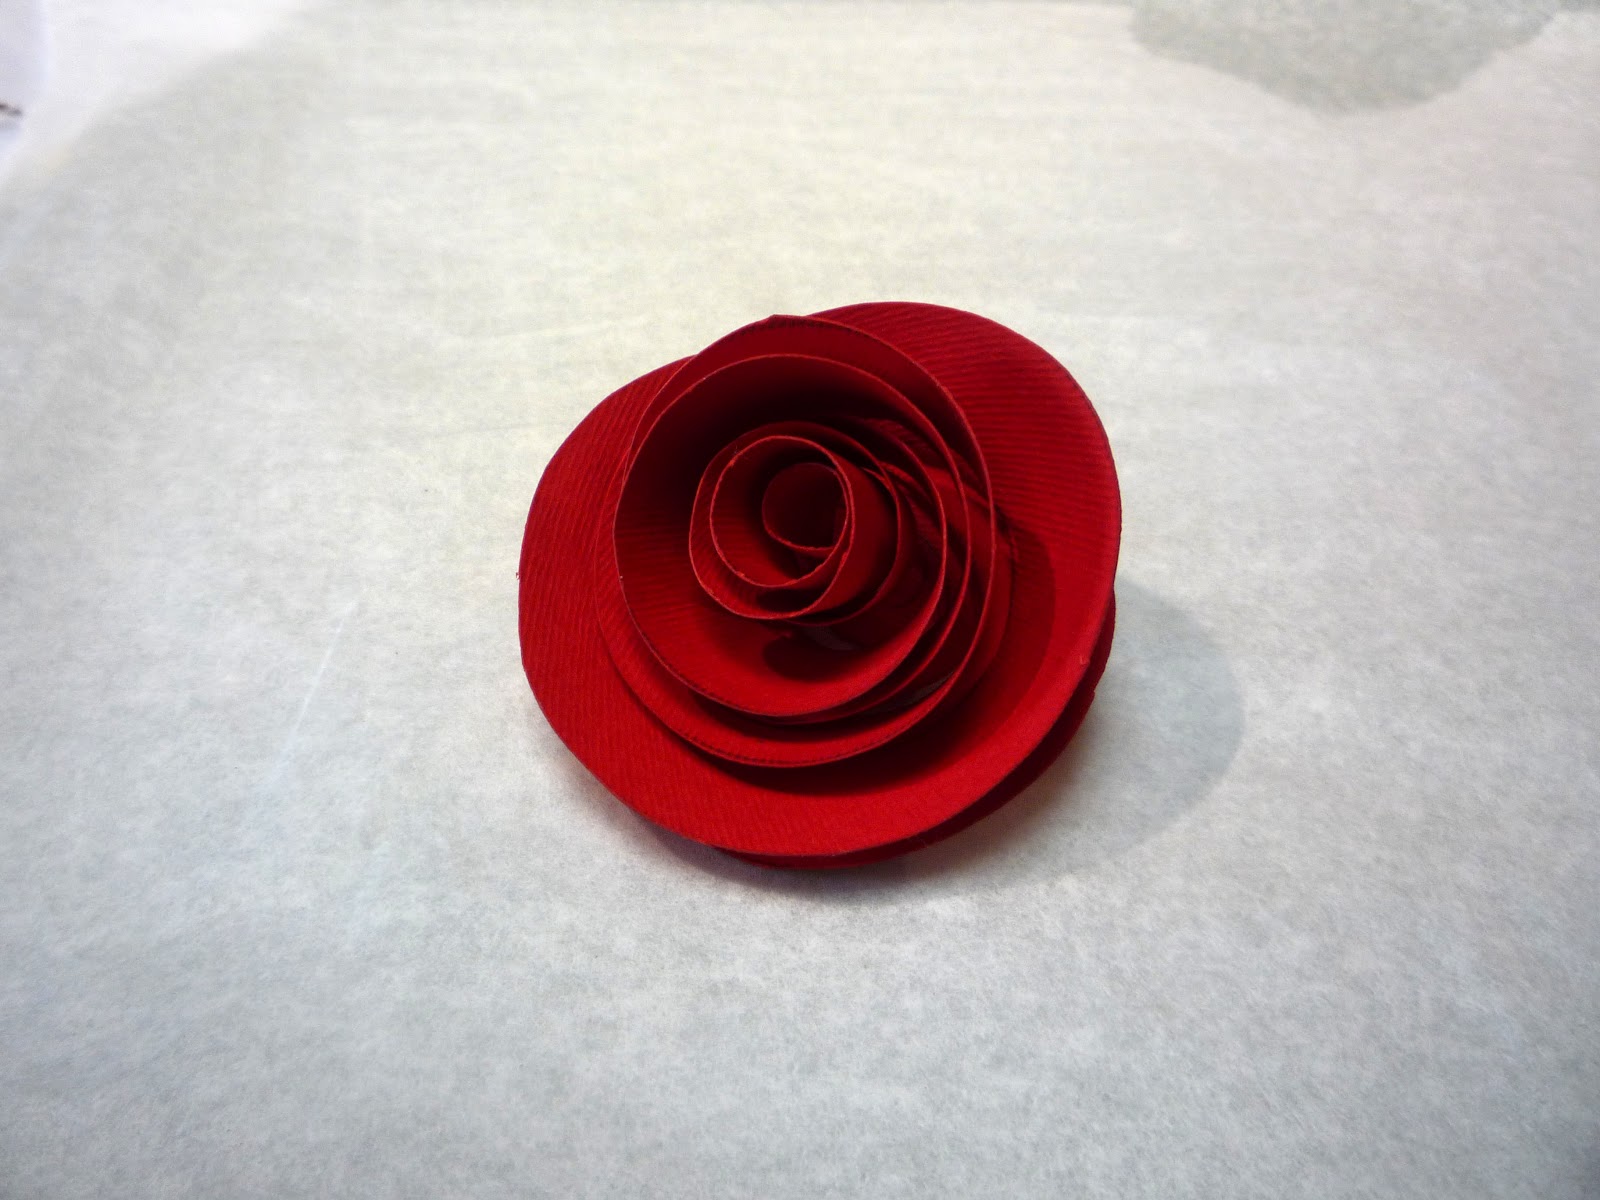
Step 3: Roll the Center
Take one of your petal pieces and roll it tightly from the bottom up to create the center of your rose. Secure it with a dab of glue to keep everything in place. This will be the foundation of your flower, so take your time to get it just right.
Step 4: Add More Petals
Now it’s time to start building your rose. Take another petal and wrap it around the center you just created. Keep adding petals, layering them in a spiral pattern until you achieve the fullness you’re looking for. Remember, less is more, so don’t overdo it unless you’re aiming for a super lush look.
Step 5: Finish It Off
Once you’ve added all your petals, give your rose a quick trim if needed. Then, use the green floral tape to wrap the stem for a realistic touch. And voila! You’ve got yourself a beautiful paper rose.
Pro Tips for Perfect Paper Roses
Alright, now that you’ve got the basics down, let’s talk about some pro tips to take your paper roses to the next level. These little tricks can make a huge difference in the final result, so pay attention!
- Use a bone folder or similar tool to curl the edges of your petals for a more natural look.
- Experiment with different shades of paper to create ombré effects.
- For a vintage vibe, try crumpling your paper slightly before shaping it.
- Don’t be afraid to mix and match textures—crepe paper petals with cardstock centers can look amazing!
These tips might seem small, but trust me, they add up to create stunning results. Give them a try and see the difference for yourself.
Different Types of Paper You Can Use
When it comes to making paper roses, the type of paper you choose can dramatically affect the outcome. Let’s explore some of the most popular options:
- Crepe Paper: Known for its stretchy texture, crepe paper is perfect for creating soft, flowing petals.
- Tissue Paper: Lightweight and delicate, tissue paper gives your roses an airy, ethereal quality.
- Cardstock: For a more structured look, cardstock provides the support needed for sturdy petals.
- Watercolor Paper: If you want to paint your roses, watercolor paper is a great choice as it holds paint beautifully.
Each type of paper has its own unique qualities, so don’t be afraid to experiment and find what works best for your project.
Ways to Decorate Your Paper Rose
Once you’ve mastered the art of making a paper rose, why stop there? There are countless ways to decorate and personalize your creations. Here are a few ideas to get your creative juices flowing:
- Paint your roses with watercolors for a soft, artistic touch.
- Use glitter or metallic paint to add a touch of glamour.
- Attach beads or sequins to the center of your rose for extra flair.
- Wrap the stem with ribbon or twine for a rustic look.
Decorating your roses is all about letting your personality shine through. Have fun with it and see where your creativity takes you!
Creative Gift Ideas Using Paper Roses
Paper roses aren’t just for decoration—they make fantastic gifts too! Here are a few ideas to inspire you:
- Create a paper rose bouquet and present it in a mason jar or vase.
- Make a paper rose garland to hang in someone’s home or office.
- Attach paper roses to greeting cards for a unique, handmade touch.
- Use paper roses as table decorations for weddings, birthdays, or other special occasions.
These gifts are not only thoughtful but also budget-friendly, making them perfect for any occasion.
A Brief History of Paper Flowers
Paper flowers have been around for centuries, with origins dating back to ancient China. Originally used in religious ceremonies, they eventually made their way to Europe and beyond, becoming a popular craft worldwide. Today, paper flowers are celebrated for their beauty, versatility, and eco-friendly nature.
Knowing the history behind paper flowers adds a deeper appreciation for the craft. It’s not just about making something pretty—it’s about connecting with a tradition that spans generations.
Frequently Asked Questions
Let’s tackle some common questions people have about making paper roses:
- Do I need special tools to make a paper rose? Not necessarily. Basic supplies like scissors, glue, and paper are usually enough to get started.
- Can I use regular printer paper? While it’s possible, printer paper tends to be too thin and fragile for this type of project. Opt for sturdier options like crepe or tissue paper.
- How long do paper roses last? With proper care, paper roses can last indefinitely. Just avoid exposing them to moisture or direct sunlight.
If you have more questions, feel free to leave a comment below—I’d be happy to help!
Benefits of Making Paper Roses
Beyond being a fun and creative activity, making paper roses offers several benefits:
- It’s a great way to relieve stress and practice mindfulness.
- You can save money by creating your own decorations instead of buying them.
- It’s an eco-friendly alternative to fresh flowers, as paper roses don’t require water or pesticides.
So whether you’re looking to unwind, save some cash, or do your part for the planet, making paper roses is a win-win situation.
Final Thoughts and Next Steps
And there you have it, folks! A comprehensive guide to making paper roses that’s packed with tips, tricks, and inspiration. I hope this article has given you the confidence and knowledge you need to start crafting your own floral masterpieces.
Remember, practice makes perfect, so don’t be discouraged if your first few attempts aren’t exactly Pinterest-worthy. Keep at it, and soon you’ll be churning out gorgeous paper roses like a pro.
Now it’s your turn! Share your creations with us in the comments below, or tag us on social media so we can see what you’ve been up to. And if you enjoyed this article, be sure to check out our other DIY guides for even more crafty goodness. Happy creating!

How to Make an Origami Rose easy origami tutorial
Comment faire une rose en papier? Selfpackaging Blog

Comment faire une rose en papier? Selfpackaging Blog
