Easy Tree Drawing: Your Ultimate Guide To Mastering The Art
Ever thought about creating an easy tree drawing but felt intimidated by all the art jargon? Relax, my friend! You don’t need to be Picasso to make something beautiful. Drawing a tree doesn’t have to be complicated. With a few simple techniques and a dash of creativity, you can create stunning arbre dessin facile (easy tree drawings) that will impress anyone who sees them. Whether you're an absolute beginner or just looking to refine your skills, this guide has got you covered.
Art isn’t just about talent; it’s about practice and passion. And trust me, once you get the hang of it, drawing trees becomes second nature. Trees are everywhere, and they’re one of the most versatile subjects in art. From towering oaks to delicate cherry blossoms, there’s so much variety to explore. So why not start with something simple and fun?
This article is your go-to resource for mastering the art of easy tree drawing. We’ll cover everything from basic shapes and shading techniques to adding that personal touch that makes your artwork unique. So grab your pencil, eraser, and a sheet of paper—let’s dive in!
Table of Contents
- Introduction to Easy Tree Drawing
- Why Draw Trees?
- Tools You’ll Need
- Start with Basic Shapes
- Shading Techniques for Depth
- Adding Details to Your Tree
- Exploring Different Tree Variations
- Avoid These Common Mistakes
- Find Inspiration in Nature
- Conclusion: Your Next Steps
Introduction to Easy Tree Drawing
Drawing trees might seem intimidating at first, but it doesn’t have to be. The key is to break it down into manageable steps. An arbre dessin facile doesn’t require fancy tools or years of experience. All you need is a willingness to learn and a bit of patience. In this section, we’ll explore why drawing trees is such a rewarding activity and how it can benefit both beginners and seasoned artists.
Let’s face it—trees are everywhere. They’re part of our daily lives, whether we notice them or not. By learning to draw them, you’re not just improving your artistic skills; you’re also deepening your connection to nature. Plus, trees come in all shapes and sizes, so there’s always something new to discover. So why wait? Let’s get started!
Why Draw Trees?
Trees are more than just plants—they’re symbols of life, growth, and resilience. Drawing trees allows you to tap into these deeper meanings while also honing your artistic abilities. Here are a few reasons why you should give it a try:
- Improves Observation Skills: To draw a tree well, you need to pay attention to its details—its branches, leaves, and texture. This helps sharpen your observational skills, which are essential for any artist.
- Boosts Creativity: Trees offer endless possibilities for creativity. You can experiment with different styles, colors, and techniques to create unique pieces.
- Connects You to Nature: Drawing trees is a great way to appreciate the beauty of the natural world. It encourages you to slow down and notice the little things that make life beautiful.
And let’s not forget—it’s fun! There’s something incredibly satisfying about creating a piece of art that captures the essence of a tree. So whether you’re drawing for fun or for practice, it’s a win-win situation.
Tools You’ll Need
Before we dive into the techniques, let’s talk about the tools you’ll need. You don’t need a whole art studio to create an arbre dessin facile. Here’s a list of essentials:
- Pencils: Start with a simple graphite pencil. HB is great for sketching, while 2B or 4B is perfect for shading.
- Eraser: A kneaded eraser is ideal for making light corrections, but any eraser will do.
- Paper: Choose a smooth surface for detailed work or a textured one for a more organic feel.
- Blending Tools: Optional, but a blending stump can help smooth out your shading.
And that’s it! No fancy brushes or expensive materials required. The focus here is on simplicity and accessibility. Anyone can create an easy tree drawing with just these basic tools.
Start with Basic Shapes
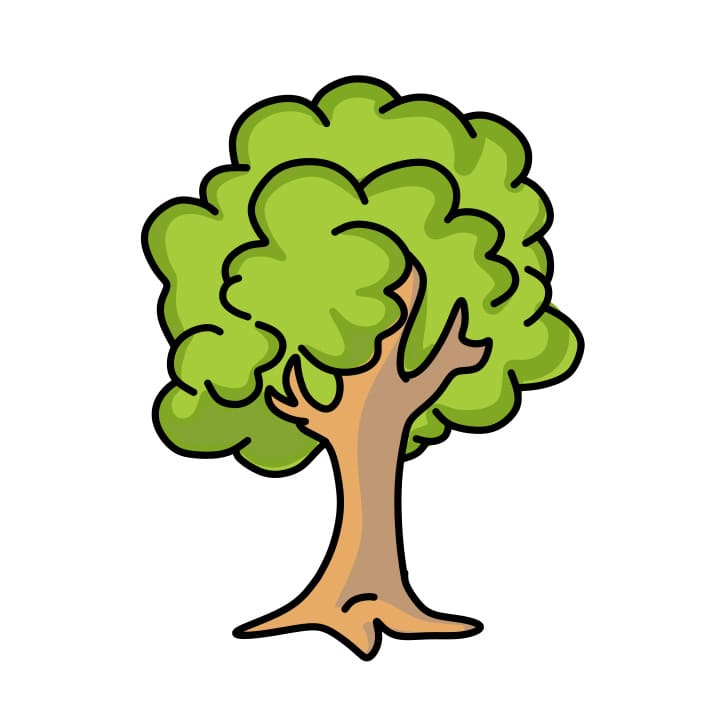
One of the easiest ways to draw a tree is to break it down into basic shapes. Think of the trunk as a rectangle and the canopy as a circle or oval. This approach makes the process less overwhelming and helps you build a solid foundation for your drawing.
Here’s a step-by-step guide:
- Sketch a rough outline of the trunk using straight or slightly curved lines.
- Add a circle or oval above the trunk to represent the canopy.
- Refine the shapes, adding branches and adjusting the proportions.
Remember, there’s no right or wrong way to do this. The beauty of art is in its imperfections. So don’t be afraid to experiment and make it your own!
Why Shapes Matter
Using shapes as a starting point helps you understand the structure of a tree. It’s like building a house—you need a strong foundation before you can add the details. By focusing on shapes first, you ensure that your tree looks balanced and proportionate.
Shading Techniques for Depth
Shading is what gives your drawing depth and dimension. Without it, your tree might look flat and lifeless. But don’t worry—it’s easier than it sounds! Here are a few shading techniques to try:
- Hatching: This involves drawing parallel lines to create shadows. The closer the lines, the darker the shadow.
- Cross-Hatching: Similar to hatching, but with lines that intersect each other. This creates a more complex texture.
- Stippling: Use tiny dots to create shading. This technique works well for creating a natural, organic look.
Experiment with these techniques to see which one you prefer. And remember, practice makes perfect. The more you practice shading, the better you’ll get at it.
Adding Details to Your Tree
Once you’ve got the basic shape and shading down, it’s time to add the details. This is where your tree really comes to life. Think about the texture of the bark, the shape of the leaves, and any unique features that make your tree stand out.
Here are a few tips:
- Bark Texture: Use short, jagged lines to mimic the rough texture of bark.
- Leaf Patterns: Draw individual leaves or use a stippling technique to suggest foliage.
- Branches: Add smaller branches to create a more realistic look.
Don’t overdo it, though. Too many details can make your drawing look cluttered. Balance is key!
How to Add Personality
Your tree doesn’t have to look like every other tree out there. Add your own twist by incorporating unique elements. Maybe your tree has a twisted trunk or a burst of color in its leaves. Let your imagination run wild!
Exploring Different Tree Variations
One of the best things about drawing trees is that there’s no limit to the variations you can explore. From deciduous trees to evergreens, each type offers its own set of challenges and opportunities. Here are a few examples:
- Oak Trees: Known for their thick trunks and broad leaves, oaks are perfect for practicing texture and proportion.
- Pine Trees: With their needle-like leaves and conical shape, pines are great for experimenting with symmetry.
- Palm Trees: These tropical beauties are all about long, flowing lines and minimal foliage.
Try drawing different types of trees to see which ones you enjoy most. You might be surprised by what you discover!
Seasonal Changes
Don’t forget about the changing seasons! Trees look different in spring, summer, autumn, and winter. Capturing these changes can add an extra layer of interest to your drawings. For example, you could draw a tree with vibrant green leaves in the summer or a bare, snow-covered tree in the winter.
Avoid These Common Mistakes
Even the best artists make mistakes sometimes. The key is to learn from them and keep improving. Here are a few common mistakes to watch out for when drawing trees:
- Overcomplicating: Remember, simplicity is key. Don’t try to include every single detail in your drawing.
- Ignoring Proportions: Make sure the trunk and canopy are in proportion to each other. A massive canopy on a tiny trunk won’t look realistic.
- Forgetting Shading: Shading adds depth and dimension to your drawing. Don’t skip this step!
By being aware of these mistakes, you can avoid them and create better, more polished drawings.
Find Inspiration in Nature
There’s no better teacher than nature itself. Spend some time outdoors and observe the trees around you. Look at their shapes, textures, and colors. Pay attention to how they interact with their environment. This will give you endless inspiration for your drawings.
You can also take photos or sketch from life. This hands-on approach will help you develop a deeper understanding of trees and improve your skills over time.
Embrace Imperfection
Not every tree you draw will be perfect—and that’s okay! Embrace the imperfections and use them as opportunities to learn and grow. Art is a journey, not a destination. The more you practice, the better you’ll become.
Conclusion: Your Next Steps
So there you have it—your ultimate guide to mastering the art of easy tree drawing. By breaking it down into manageable steps, focusing on shapes and shading, and adding your own personal touch, you can create stunning arbre dessin facile that will impress anyone who sees them.
Remember, practice is key. The more you draw, the better you’ll get. And don’t be afraid to experiment and try new things. Art is all about creativity and self-expression, so let your imagination run wild!
Now it’s your turn. Grab your pencil and paper and start creating. And when you’re done, share your masterpiece with the world. Who knows—you might inspire someone else to pick up a pencil and start drawing too!
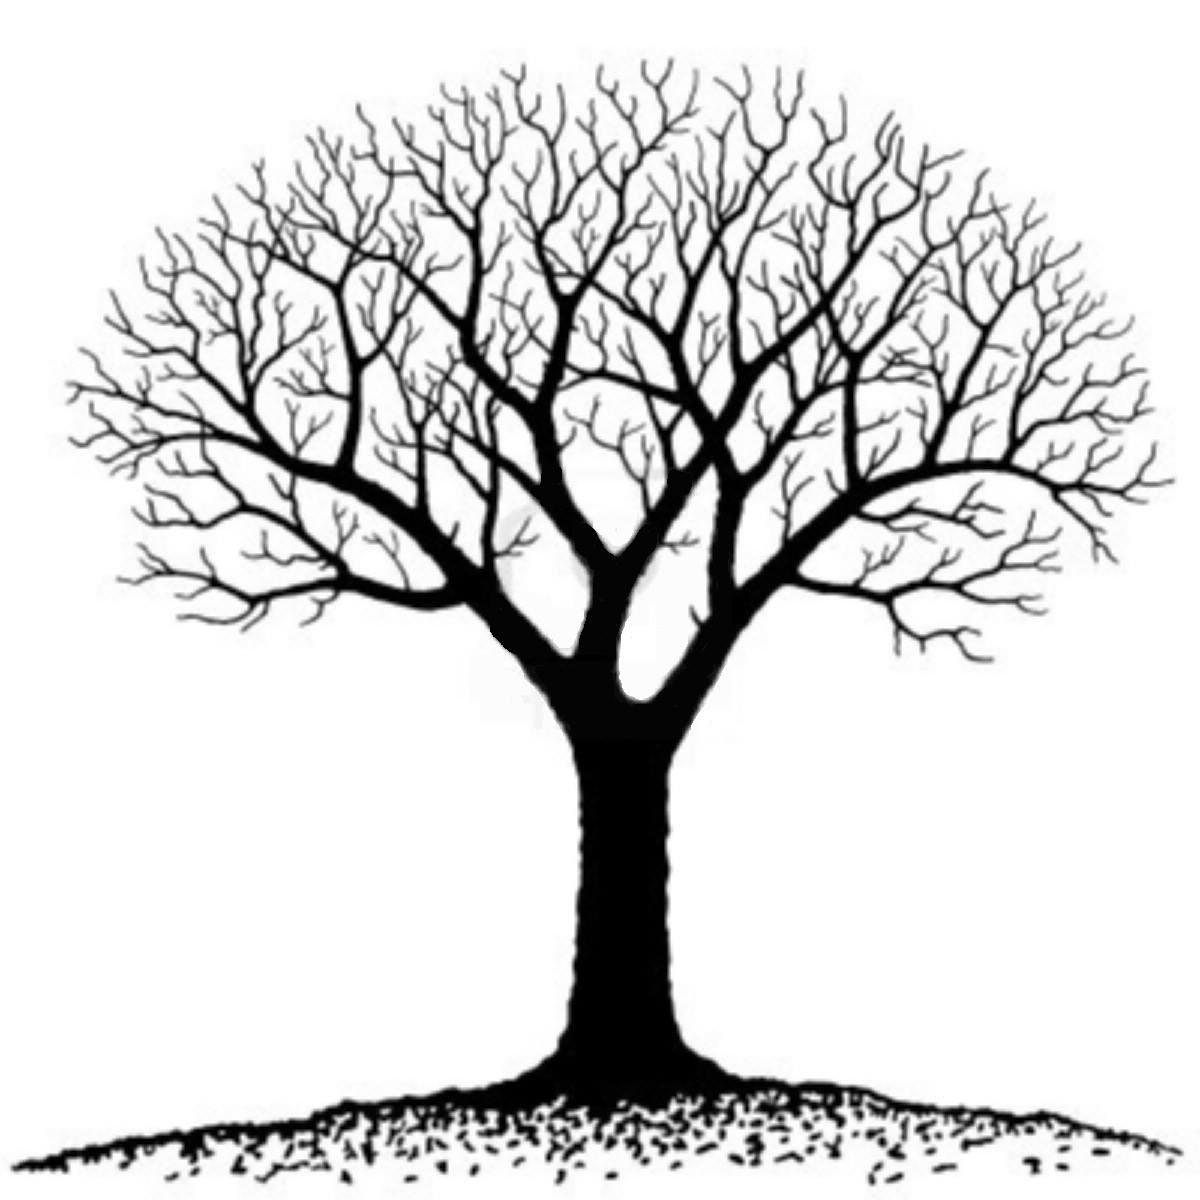
Arbre Dessin Facile Beau Image Dessin Arbre Sans Feuilles Un Notre
J’espère que grâce au didacticiel sur la façon de dessiner un arbre

Dessin Dessiner un arbre HD Gibi
